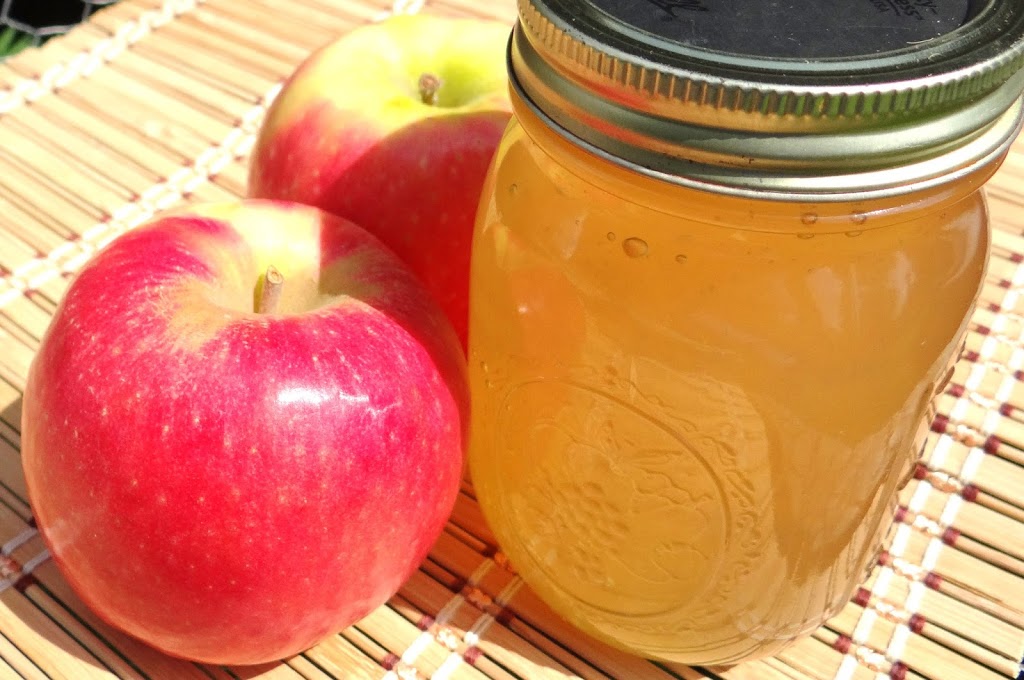
Did you go apple picking or hit the farmers market and get a little carried away during the peak of apple season? There’s only so much you can do with all those apples before they start to spoil (or before your appetite for them starts to spoil). Why not preserve this season’s bounty for next season’s breakfast?

Apple Jelly Recipe
Ingredients
- 5 lbs apples
- SureJell™ pectin
- 9 c. sugar
- Wash the apples, removing any stickers.
- Peel and core, if desired. Otherwise, cut off the stems and blossom ends (bottoms). Cut the apples into quarters or smaller pieces.
- Put the pieces into a large pot with 5 cups of water and bring to a boil.
- Turn the heat down to simmer for 10 minutes.
- Mash the apples with a potato masher and simmer for 5 more minutes.
- Strain the apple juice through cheese cloth. If you don’t get 7 cups of juice, add 5 more cups of water to the mashed apples and repeat the three previous steps: simmer, mash and strain.
- Pour the 7 cups of juice into a large pot.
- Stir in 1 package of SureJell™ pectin and add 9 cups of sugar.
- Bring to a boil, stirring constantly. Boil for exactly one minute, being very careful not to let it boil over. It should be a full boil (when stirring doesn’t make it stop boiling).
- Skim off the foam with a spoon and set aside.
- Test the consistency by scooping out a bit with a cold metal spoon and letting the mixture cool to room temperature. It should thicken to a desirable consistency; if it’s too runny, add a bit more pectin as described in previous steps until a good consistency is reached.
- Wash jars and rings in very hot, soapy water. Rinse in hot water.
- Simmer the lids in a sauce pan for 1-2 minutes. They must be completely submerged and evenly spaced (not stacked).
- Boil 1 inch of water in your largest pot and set several jars into this large pot. Let them boil for about 10 minutes (more at higher altitudes).
- Lift the jar out of the pot using jar tongs and set on a pad.
- Ladle jelly into a jar using a funnel, leaving at least a quarter inch empty at the top. Be sure not to get any jelly on the rims, or you will need to wipe it off.
- Place a lid on the jar using tongs or a magnetic lid wand.
- Place a ring on the jar. Tighten the ring just finger tight. Use mittens to prevent from burning your hands.
- Leave a little bit of space between the cooling jars. You will hear the lids go “ping” as they seal.
- Once they are cool remove the rings. If they are to be stored for any length of time the rings may provide an unseen avenue for corrosion and bacteria incursion.
- Canning methods vary. For example, some people prefer to put the jelly into the jars before putting the jars in the boiling water bath. The order in which the canning is done is not as important as keeping everything sterile through cleanliness and heat.
- To check the seal of a cooled jar, press down on the middle of the lid with a finger. It should not spring back.
- Serve with toast, pancakes, or however you please and enjoy!
- Adding cinnamon is great way to spice it up. You can also add a slight hint of horseradish or jalapeno and put it on crackers with cream cheese.
- Wash your hands thoroughly and keep them clean throughout the process. Wash them again before resuming work if you sneeze, visit the bathroom, or handle non-food items during the process. It’s important to keep out any microorganisms that could spoil the apple jelly.
- This stuff is very hot, so be careful!
- If adding spices as mentioned above, make sure those you serve it to are not allergic.
- Everything used in the canning process must be sterilized. Enzymes, bacteria, virii, cannot survive if you boil everything for 10 minutes. Do Not Use Wood. Botulism will survive the boiling process. There has to be an acid added to the jelly, jam, or preserves. Consult a professional as to how to keep everything sterile while putting up your apples.
- 3 large bowls
- Ladle
- 2 spoons
- Cheese cloth
- Saucepan
- 6 – 10 cups worth of jelly jars
- Oven mitts
- Tongs
