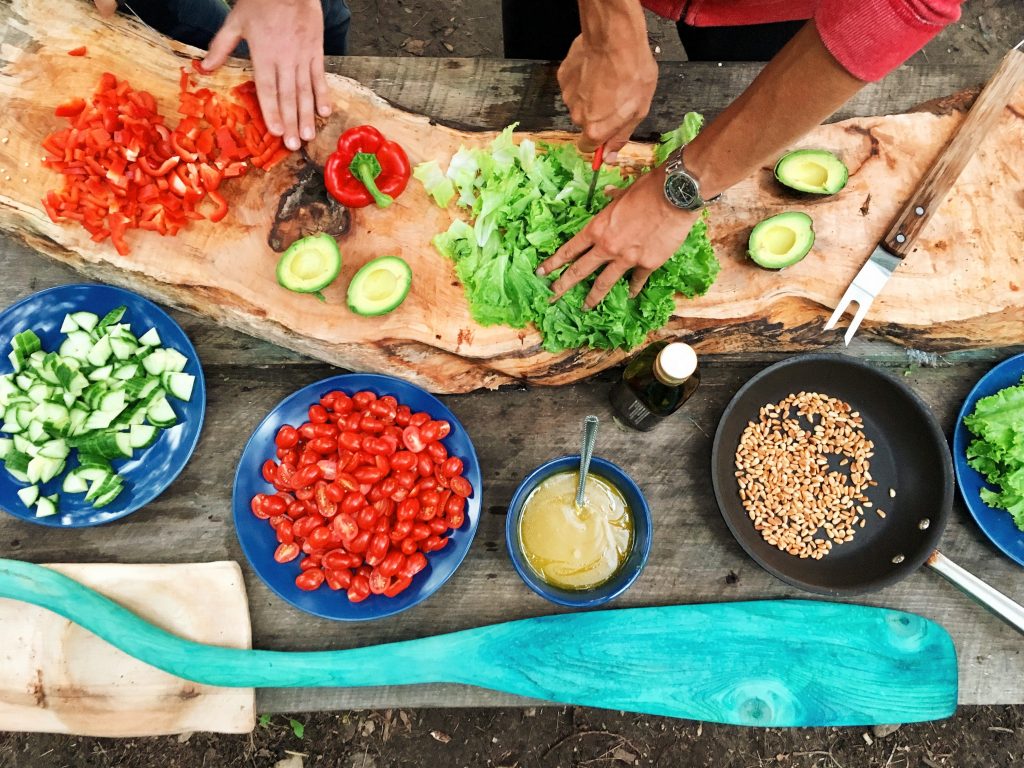
They say that the way to a person’s heart is through their stomach. And whether you are an amateur cook or a professional chef, the beauty of cooking is in the joy that it brings. From bringing friends and family together over a delicious meal to spending countless hours by yourself experimenting on and perfecting a dish – cooking creates happiness (along with some incredibly tasty food). There is a sense of identity and culture rooted in cooking – family recipes that get passed down across the generations, traditions, and festivities that revolve around food.
Food was created, much like joy, to be shared. And in our digitally-driven world, what better platform to share your experiences than through the internet.? The world, today, is connected through the intricate web that YouTube has spun, and sharing has never been easier.
With a passion for cooking and a decent internet connection, you have got on your hands the recipe for a pretty great cooking channel, and here’s how –
Step 1: Ingredients and Preparation Time
Creating a YouTube channel sounds like a rather spontaneous idea, at the moment. Taking it through, however, requires a ton of thinking and planning. So, before diving right in and uploading a video that you might regret later, take some time out, and do your research.

Watch loads of cooking shows and videos, take inspiration from them and figure out what you want your channel to look like. Think of a catchy name for your channel that best describes it. Creating some channel art is always a good idea. While brainstorming, also think of a niche for your channel. For instance, a cooking channel that targets college students who need easy-to-make and healthy recipes or a channel dedicated to desserts, etc.
Once you’ve decided on the tone of your channel, start story-boarding your video ideas before filming them. Creating a YouTube channel requires a multitude of skills, in addition to cooking. Write out your scripts, practice how you want to speak – is it conversational or instructional? How fast or slow will you speak? Think about how you want to shoot the video and the various shots that you might want to take off your dish. Maybe even make a few trial videos before getting started on your actual project.
Step 2: Filming and Editing
You’ve visualized, planned, and thought your videos through, which means that it is now time to get down to business. It’s easy to give in to temptation and go crazy on the equipment shopping, but don’t go buying the most expensive gadgets out there just yet. While you do need good quality images and sound, as a beginner, start small. You can borrow a friend’s camera, to begin with, or even use a phone that has a good camera.

While filming, try to shoot in areas where there is lots of natural light streaming in. Keep your place of work clean and organized.
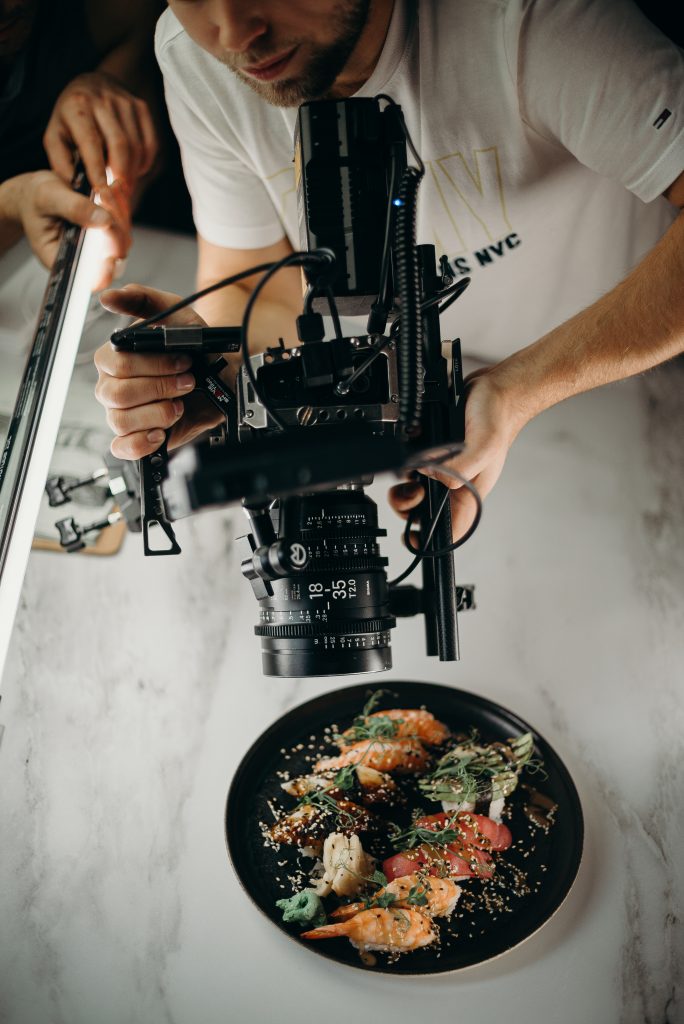
Food is as much of a visual experience as it is a gustatory one, more so now because you are sharing an entire sensory experience solely through a video. So, experiment with shots, angles, and lighting to make your cooking look as aesthetic and appealing as possible.
Filming will leave you with a ton of excess footage and bloopers that will need to be edited out. InVideo is a great editing tool that can help you achieve fabulous results with ease. Using this youtube video maker makes the tedious task of editing surprisingly simple and is perfect for both newbies and experts alike.
With your video filmed and edited, it is now ready to be uploaded. Give your video a fun title, add in a description, pause for effect, and press upload. Your video is out there and ready to be viewed!
Step 3: Comment, Like and Subscribe
With your very first video ready and released, it is time to get the rest of the world to check it out. Create a schedule for uploading your videos. Pick a day for publishing and stick to it. The description, title, and tags of your videos are your (not so) secret weapons to get new viewers. Optimizing them with the correct keywords can make all the difference in the world. So pay attention to the minor details.
Social media is the internet equivalent of a gossipy neighbor, and with Instagram, Twitter, and Snapchat by your side, your video will have a bunch of views in no time. Take lots of pictures of your finished dish so that you can post them on your social media to inform people about your channel and new uploads. You can even use a photo video maker to turn your photos into a seamless video that can be posted instead of just pictures.
As you start building up your channel, keep your eye out on the most popular trends and challenges. Try incorporating them into your videos as it will keep your content fresh and relevant, drawing in new and engaging with old subscribers. Themed videos, like everything chocolate for a week or anything that catches your attention, are great ideas to get your viewers to check in on your videos regularly.
Finally, personalize your videos. One of the best things about YouTube is that it allows you to create a personal connection with your viewers even though it’s through a screen. Engage with your viewers, ask them to make suggestions for new videos, and reply to the comments that they leave you. Create an interactive community that people enjoy being a part of. At the end of the day, cooking is all about that – sharing, interacting and learning something new every single day.
Use These Steps To Start Your Own Channel
With these three simple steps, you now have all that you need to know to create a great cooking channel. It is a lovely way to broaden your own horizons and develop your skills. So get your aprons on and cameras rolling – something smells incredibly good!

Amazing content, thanks a lot for sharing this post as it was very useful