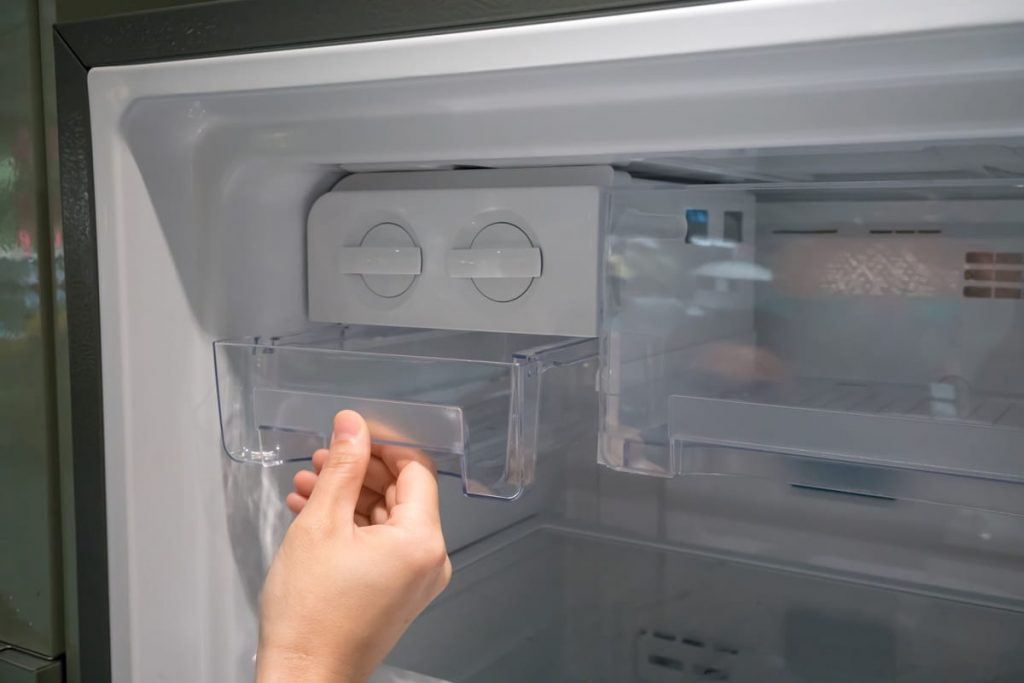
One of the best additions to the modern lifestyle is the invention of ice machines. As a cherry on top, it has its own compartment in the refrigerator. So you do not need to maintain two appliances. This is the combination we can never get enough of. Talking about maintenance, it is obvious that appliances need to be taken care of on a regular basis to ensure their performance does not deteriorate. The question that arises here is, how to maintain the ice maker of the refrigerator? In this blog, let’s learn how.

1. Read the manual and follow the instructions:
Follow the instructions in the online or paper manual for your refrigerator’s brand and model. Keep the section about the ice maker open for future reference.
2. Remove the ice maker bin and turn it off:
A metal bar on certain ice products may need to be lifted. Some of them will have an on/off switch that must be flipped. Pull and remove the ice bin once you’re sure the ice machine is turned off. Depending on the model, you can either pull up and out or slide your bin straight out.
3. Loose ice should be discarded, and built-up ice should be broken:
Dump any loose ice into the ice maker bin; it’s not a big deal, and you’ll appreciate ice from a clean ice maker a lot more. Then break up any ice that has formed in frost or large chunks around the sides with a butter knife or a firm plastic spatula.
4. The In-Freezer Components Should Be Wiped Down and Dried:
Dip a clean rag or sponge in soapy water and wipe off all of the freezer components you can reach. Make sure you don’t turn the ice maker machine back on in the process. Then, using vinegar or a light bleach solution, wipe off the in-freezer components. Then, while you’re taking care of the ice bin, carefully dry the in-freezer components so they don’t frost over.
5. As if it were a dish, wash the ice maker bin:
Check your manual once again. You’re in luck, if your ice machine bin in dishwasher safe. You can place the container upside-down in your dishwasher’s upper compartment and leave the rest to the machine. If the trash can isn’t dishwasher safe, scrubbing it down with a soapy sponge and rinsing it will only take a few minutes.
Then sanitise the ice maker bin with the same bleach or a vinegar solution. Before calling this part complete, give it a good rinse.
6. Thoroughly dry everything:
Make sure your ice maker components and ice bin are fully dry now, that they’ve been thoroughly cleaned. Dry every reachable surface of the ice bin using a dry cloth or towel, then double-check that the in-freezer components are likewise completely dry. This is necessary to prevent frost from forming on the icemaker.
7. Dispose of the Ice Maker Bin:
Reverse the technique you employed earlier and slide that clean, dry ice bin back into position. Refer to your user’s manual for ice bin installation tips if this feels clunky or inaccurate. To ensure that the bin is properly positioned, lock it into place and shake it a little.
Return the ice maker machine to its original setting. Finally, it’s safe to remove the bar or reactivate your ice machine by flipping the switch. If all goes well, you should be able to enjoy clean, tasty (or tasteless) ice as soon as the ice maker has a chance to manufacture any.
Conclusion:
Following the steps above, it will be easy to maintain the ice maker. To ensure consistent performance, maintenance should be done regularly. The time interval can depend on how often you can do it, bi-weekly, or monthly, it is up to you. Take necessary caution while following the steps. They are equally important. Now that you know how to maintain your refrigerator’s ice maker, keep calm and ice up your summer.
